Finally time for my first game with the new CSM codex! Oddly enough it's my first 2v2 in a long time as well! Also... at the time I'm writing this preface I also don't know who I'm playing against either... I only know that the other players are Iron Hands, Blood Angels and Imperial Guard... And then a limit of 1000 points! So, tricky to make a list!
The only thing that I know for sure is that with two SM-players I will play against at least one of them. So therefore I decided to go for Veterans of the Long War for my whole army. After some thinking and looking at what I have available I went for three 5-man squads with a plasma each... but then I started tweaking around some since I realised I could get another plasma in if I replaced one of the squads with Plague Marines. Since Plague Marines come with a CCW by default they will be my forward unit, followed by one squad with extra CCW and a Champion with a Power Fist. The third squad I skipped CCW's on and went only for Bolters and the Champion got Melta bombs in case they're needed to take care of some tank. I plan to keep them back though, probably holding an objective depending on the scenario and then pushing forward with the other two squads.
At this point level the HQ is a no-brainer. A Lord it is. And to get Plague Marines as troops he also needed Mark of Nurgle. I didn't want to deck him out too much since 1000p is so limiting, so I went for a Power Weapon (he's modelled with an Axe so I guess that'll have to do, all though I'd preferred a sword to take advantage of his I5 but oh well), Sigil of Corruption to protect him and VotLW and Melta bombs. I've not decided if I want to run him with the Plague Marines or if I should run him with the Power Fist yet... On one hand I get a really hard uni on the other I get two units with Fearless... We'll see once the game starts!
Then on to Heavy Support. First three Obliterators. With Mark of Nurgle. Didn't have to think long on that. And then I decided to bring some armour, and in went two Predators. One with Lascannons and one with Autocannon. So cheap! I'm quite surprised by how much I managed to get into this list, as I only take old units. This should be a blast!
LISTS
Black Legion Chaos Space Marines
HQ
Chaos Lord - Gift of Mutation, Mark of Nurgle, Melta bombs, Power Axe, Sigil of Corruption, VotLW
Troops
5 Chaos Space Marines - +4 CCW, Plasma Gun, VotLW, Power Fist
5 Chaos Space Marines - Plasma Gun, VotLW, Melta bombs
5 Plague Marines - 2xPlasma Gun, VotLW, Melta bombs
Heavy Support
Predator - Autocannon, Sponsons w. Heavy Bolters
Predator - Twin-linked Lascannon, Sponsons w. Lascannons
3 Obliterators - Mark of Nurgle, VotLW
Iron Hands Space Marines
HQ
Librarian - Terminator Armour, Storm shield
Troops
10 Tactical Marines - Combi-melta, Melta, Missile-Launcher
+Razorback - Twin-linked Lascannon
10 Tactical Marines - Flamer, Missile Launcher, Power Fist
+Drop Pod
10 Tactical Marines - Combi-Melta, Melta, Missile-Launcher
Elites
5 Sternguard - 3 Combi-meltas, 2 Combi-flamers
+Drop Pod
Blood Angels Space Marines
HQ
Chaplain Reclusiarch - Jump Pack, Power Maul
Troops
10 Assault Marines - Jump Packs, 2 Melta Guns, Power Fist, Plasma Pistol
10 Assault Marines - Jump Packs, 2 Melta Guns, Power Fist
6 Death Company - Jump Packs, 2 Power Swords, Thunder Hammer
Elites
Scouts - Heavy Bolter
Imperial Guard
HQ
Company Command Squad - Standard, 3 Melta guns
Troops
Platoon Command Squad - 4 melta
Infantry Squad - melta
Infantry Squad - melta
Platoon command squad - 4 flamers
Infantry Squad - melta
Infantry Squad - melta
Special Weapons Squad - 2 flamers, demolition charge
Heavy Support
1 Leman Russ - Lascannon
1 Leman Russ - Heavy Bolter
1 Demolisher- Heavy Flamer
PRE
First we rolled for teams, and we got the black guys versus the others, ie Iron Hands and Black Legion vs Blood Angels and Imperial Guard. We decided to have one Warlord per army, so we rolled for that as well. Blood Angels got Acute Senses for Outflanking, Imperial Guard got +1 Charge range, Iron Hands got Scoring units and Black Legion got melee-weapons have the Soul Blaze rule. I then rolled for my Gift of Mutation and got Hammer of Wrath for my Warlord. Librarian rolled his two powers on Biomancy, he got Iron Arm and Enfeeble. Mission was Crusade with three objectives, and deployment Dawn of War. BA&IG got to chose sides and thus also place two objectives, but IH and BL won the roll off for deploying first and getting first turn.No Night Fighting, and the Imperials didn't steal initiative.
Turn 1 - Black Legion & Iron Hands
Pretty much everything moved up and the Drop Pod with Sternguard came in close to the far away Leman Russ. The Sternguard shot their Combi-Meltas... and all three missed. Great. My Obliterators then showed how to do it and shot their Lascannons at the Demolisher and took two hull points off it at once. Unfortunately my las-pred couldn't do the same, nor could the Razorback. So it lived. My Autocannon-pred shot some Guardsmen, but the rest of my army ran forwards. The Librarian also used Enfeeble on the Assault Marines hiding behind the forest.
Turn 1 - Blood Angels & Imperial Guard
The enfeebled Assault Marines stayed put and the Guardsmen backed away a bit.
The Sternguard first suffered three wounds from lasgun fire... and two died. Then they got a Battle Cannon staring them down killing off the rest. First Blood to the Imperials. The Demolisher then shot at the most clumped up stuff on my side, which were my Plague Marines and CC-oriented CSM-squad. It killed 2 Plague Marines and 3 Marines.
The Librarian was then charged by one squad of Assault Marines, they had a Sargent with a Power Fist, so of course the Librarian challenged him. He decided to refuse though, since it was his charge and he wanted to get more attacks in. No wounds penetrated armour on either side however.
Turn 2 - Black Legion & Iron Hands
The other Drop Pod failed to show up. The Iron Hands stayed on the objective on their side for the most part while my army continued to move up (except for the Predators who stayed back). The Razorback got the honour of killing off the lethal Demolisher, thank you for that! One more of those S10 blasts would've hurt indeed. The explosion also killed off a few Guardsmen. My Laspred then got to prove itself as well, as it blew up the far away Leman Russ! My Obliterators then got to try their new shiny Assault Cannons on the IG Command Squad. Needless to say they were slaughtered. Slay the Warlord! The Autopred then shot off the Demo-charge off the unit hiding behind the hill, so none of that shenanigans! The rest of my army was still running forwards as the Imperial Guard kept their distance.
The Librarian then challenged again, and this time the Blood Angels Sargent decided to accept since he was no longer losing Hammer of Wrath and extra attacks... The Librarian forgot to cast Iron Arm, but he killed the Sargent anyway. The squad had the Red Thirst though, so they stayed.
Turn 2 - Blood Angels & Imperial Guard
All of the reserves showed up, the Assault Marines on the lone objective guarded by the Iron Hands and the Death Company with Chaplain at the Chaos-side.
The earlier enfeebled Assault Marines moved forwards and tried to melta the Drop Pod for lack of other good targets. They hit and penetrated, but then rolled a 1 on the chart, so despite +3 they only got a Weapon Destroyed. Every other melta in the armies missed totally. One Plague Marine and two Chaos Marines went down to flashlight fire however. The Leman Russ which is deployed on the right side (not visible on the picture...) fired it's Battle Cannon on the Auto-pred but failed to penetrate. Continued stalemate between the Librarian and the Assault Marines.
Turn 3 - Black Legion & Iron Hands
The Death Company had chosen to shoot their pistols last turn instead of spreading out... Of course I couldn't resists shooting Plasma Cannons at them! One got hot, but no wound. Another scattered off, but one was a direct hit on all seven of them! Unfortunately I somewhat whiffed the roll and rolled three ones. And out of the remaining 4 wounds he made three Feel No Pain rolls! I continued to shoot all my Plasma weapons at them as well as the Autopred and eventually managed to kill 4 in total, but with the amount of ignore armour shots they should've been dead! I also managed some wounds on the Flamers who failed their morale test. The Iron Hands killed off a couple of Assault Marines on their side of the table. The Librarian then took a wound in the close combat, but he stayed.
Turn 3 - Blood Angels & Imperial Guard
The Shooting killed a few Marines, but not much happening. The Death Company charged the CSM squad without CCWs, my Champion challenged the Chaplain since he has too and actually wounded but it was saved. He was then cut down as well as the rest of the squad. The remaining Power Sword was enough, so the Thunder Hammer didn't even get to strike. Still tie combat between the Librarian and the Assault Marines, and one squad of Assault Marines charged the Tacticals holding the objective for another tie combat.
Turn 4 - Black Legion & Iron Hands
The Drop Pod showed up and dropped down in the Imperial Guard corner, and the Tactical made some guards start running.
The Obliterators were determined to finish what they started, so shot twin-linked plasma guns at the Death Company. The Chaplain was in front, so he decided to use his 4++ but failed to save two of them. The Auto-pred then shot them from behind as well, killing the Power Sword guy.
My lone surviving Champion with a Power Fist charged a small squad of guardsmen, swept them and consolidated back to the objective. My Lord and his one Plague Marine charged as well, My Lord had to challenge his Platoon Commander, and actually killed him with his Hammer of Wrath attack. So my Gift of Mutation granted me another roll on the Boons Table! But I rolled unworthy offering, no surprise there since it was just a guardsman after all... The Plague Marine also killed a couple of guys, but the guards actually stayed in combat! Great for me, no shooting at my Lord next turn! The Librarian got inspired I suppose, as he also killed two guys in his combat.
Turn 4 - Blood Angels & Imperial Guard

The Obliterators had to suffer a lot of Lasgun fire, which they just shrugged off. The Chaplain and the Thunder Hammer also fired their pistols at them... and that of course caused a wound... The Special Weapons Team with Meltas moved up and blew up the Auto-pred. The Leman Russ in the corner didn't like the look of those Tactical Marines that showed up in front of it, so shot his Battle Cannon, it scattered off a bit and hit the Drop Pod and only two marines instead. Rolled double one for to wound and failed to penetrate the Pod as well! The most far away squad of Imperial Guardsmen also managed to snipe the lone Champion on the objective.
In the assault phase the Death Company and Chaplain charged the Obliterators, the Chaplain killed the Obliterator he wounded with his pistol. My remaining two Oblits then hit back and wounded with all four attacks, he decided to use his Chaplains 4++ on all of them since he wouldn't get Feel No Pain on the Thunder Hammer. He saved three of them. Here we made a mistake though, he should've rolled them one at a time since it might've been the first attack that killed him and then the Thunder Hammer would be dead too... ah well! Instead the Thunder Hammer killed one Obliterator, and as they're no longer Fearless the remaining Obliterator broke and was swept as well.
The squad of Assault Marines that had been sitting in forest for all game long decided to come out and play, as they charged a unit that had come out of the Drop Pod. They promptly failed and fled off the board instead. The Assault Marines on the far away objective had a tie combat yet again. My Lord and Plague Marine killed off the last remaining Guardsmen they were in combat with and the Librarian also finally killed the last Assault Marine.
Turn 5 - Black Legion & Iron Hands
I split off my Lord and Plague Marine so I could both Rapid Fire Plasma the last Death Company and charge him if that failed. The Plasma double killed him though. The Librarian cast Enfeeble on the Guardsmen on the middle objective and then charged them. Killed enough to break them, and then consolidated 6" and thus grabbing the objective since he's a scoring unit! What a champ!
I then got greedy with my Lord however, as there was a juicy squad of Guardsmen coming close to the objective on my side. I decided to shoot them and try to charge despite a 10" range instead of running closer to contest the objective. I failed to hit and charge.
Turn 5 - Blood Angels & Imperial Guard

Most of the remaining Imperial Guard are fleeing at this point, except for the unit that I failed to charge last turn who moved up and claimed the objective - and right behind them a Special Weapons team with meltas. The Lone Assault Marine with a Melta gun moves up behind my Laspred (which hasn't done much the last couple of turns) and shoots it, hits, penetrates... and then rolls a 1 on the chart. Again! So no real harm done. The Leman Russ shoots it's Battle Cannon at the Librarian hoping to both kill the Warlord and deny us 3 VP's - that would've been a winning move. But Terminator armour saves both the direct hit and the Lascannon.
In the Assault phase the Assault Marines on the far away objective manages to score two kills, but the Iron Hands stays put.
Does the game end? It does. So each side claims one objecvie and both has Linebreaker. The Imperials got First Blood, and the Obliterators killed both Warlords. So a close 6-5 victory for the Black guys!
Lessons Learnt
First off, don't mess up the rules. If one Obliterator had survived that would've been a big deal for the last turn indeed. But despite that, they were my mans of the match as usual. I wasn't affected by having to change weapons every turn in the slightest - I didn't even shoot the same weapon twice the entire game! However, the loss of Fearless did show as they were eventually swept in assault. But they still killed two Warlords and caused a lot of mayhem so I can't complain!
My list was a bit geared towards facing Space Marines, but since we deployed first I ended up facing the Imperial Guard. I really didn't have enough guns to really put the hurt to them, and in the mid-game I wasn't decisive enough either. I wanted to stay on the objectives as well as charging - I would probably have been better off charging despite losing about half of my forces when I got to the midfield.
Also, don't be greedy. In the last turn I was playing for another turn really. Had it been a turn 6 I'm convinced that my Lord would've routed those Guardsmen, but instead of capitalizing that I tried to go for it a turn too early. I'd been better off running to the objective and contesting it instead. I'd probably been shot by three meltas though, but they wouldn't Instant Death me and I had a 4++ so... Ah well!
Other than that I'm quite pleased with how my guys performed overall. Too bad I didn't get into more assault though! Oh, and +1Ld for Veterans of the Long War saved me from running 3 times. Definitely worth it's points even when against non-Space Marines. At least if you're going to play small units like I did in this game. Oh, and I totally forgot about my Warlord trait all game. I did get the least fun one so...
The only thing that I know for sure is that with two SM-players I will play against at least one of them. So therefore I decided to go for Veterans of the Long War for my whole army. After some thinking and looking at what I have available I went for three 5-man squads with a plasma each... but then I started tweaking around some since I realised I could get another plasma in if I replaced one of the squads with Plague Marines. Since Plague Marines come with a CCW by default they will be my forward unit, followed by one squad with extra CCW and a Champion with a Power Fist. The third squad I skipped CCW's on and went only for Bolters and the Champion got Melta bombs in case they're needed to take care of some tank. I plan to keep them back though, probably holding an objective depending on the scenario and then pushing forward with the other two squads.
At this point level the HQ is a no-brainer. A Lord it is. And to get Plague Marines as troops he also needed Mark of Nurgle. I didn't want to deck him out too much since 1000p is so limiting, so I went for a Power Weapon (he's modelled with an Axe so I guess that'll have to do, all though I'd preferred a sword to take advantage of his I5 but oh well), Sigil of Corruption to protect him and VotLW and Melta bombs. I've not decided if I want to run him with the Plague Marines or if I should run him with the Power Fist yet... On one hand I get a really hard uni on the other I get two units with Fearless... We'll see once the game starts!
Then on to Heavy Support. First three Obliterators. With Mark of Nurgle. Didn't have to think long on that. And then I decided to bring some armour, and in went two Predators. One with Lascannons and one with Autocannon. So cheap! I'm quite surprised by how much I managed to get into this list, as I only take old units. This should be a blast!
LISTS
Black Legion Chaos Space Marines
HQ
Chaos Lord - Gift of Mutation, Mark of Nurgle, Melta bombs, Power Axe, Sigil of Corruption, VotLW
Troops
5 Chaos Space Marines - +4 CCW, Plasma Gun, VotLW, Power Fist
5 Chaos Space Marines - Plasma Gun, VotLW, Melta bombs
5 Plague Marines - 2xPlasma Gun, VotLW, Melta bombs
Heavy Support
Predator - Autocannon, Sponsons w. Heavy Bolters
Predator - Twin-linked Lascannon, Sponsons w. Lascannons
3 Obliterators - Mark of Nurgle, VotLW
Iron Hands Space Marines
HQ
Librarian - Terminator Armour, Storm shield
Troops
10 Tactical Marines - Combi-melta, Melta, Missile-Launcher
+Razorback - Twin-linked Lascannon
10 Tactical Marines - Flamer, Missile Launcher, Power Fist
+Drop Pod
10 Tactical Marines - Combi-Melta, Melta, Missile-Launcher
Elites
5 Sternguard - 3 Combi-meltas, 2 Combi-flamers
+Drop Pod
Blood Angels Space Marines
HQ
Chaplain Reclusiarch - Jump Pack, Power Maul
Troops
10 Assault Marines - Jump Packs, 2 Melta Guns, Power Fist, Plasma Pistol
10 Assault Marines - Jump Packs, 2 Melta Guns, Power Fist
6 Death Company - Jump Packs, 2 Power Swords, Thunder Hammer
Elites
Scouts - Heavy Bolter
Imperial Guard
HQ
Company Command Squad - Standard, 3 Melta guns
Troops
Platoon Command Squad - 4 melta
Infantry Squad - melta
Infantry Squad - melta
Platoon command squad - 4 flamers
Infantry Squad - melta
Infantry Squad - melta
Special Weapons Squad - 2 flamers, demolition charge
Heavy Support
1 Leman Russ - Lascannon
1 Leman Russ - Heavy Bolter
1 Demolisher- Heavy Flamer
PRE
First we rolled for teams, and we got the black guys versus the others, ie Iron Hands and Black Legion vs Blood Angels and Imperial Guard. We decided to have one Warlord per army, so we rolled for that as well. Blood Angels got Acute Senses for Outflanking, Imperial Guard got +1 Charge range, Iron Hands got Scoring units and Black Legion got melee-weapons have the Soul Blaze rule. I then rolled for my Gift of Mutation and got Hammer of Wrath for my Warlord. Librarian rolled his two powers on Biomancy, he got Iron Arm and Enfeeble. Mission was Crusade with three objectives, and deployment Dawn of War. BA&IG got to chose sides and thus also place two objectives, but IH and BL won the roll off for deploying first and getting first turn.No Night Fighting, and the Imperials didn't steal initiative.
 |
| Deployment, Blood Angels have Death Company and half of the Assault Marines (Combat squaded) in reserve. One objective is on the far left, the other two in the middle. |
Turn 1 - Black Legion & Iron Hands
Pretty much everything moved up and the Drop Pod with Sternguard came in close to the far away Leman Russ. The Sternguard shot their Combi-Meltas... and all three missed. Great. My Obliterators then showed how to do it and shot their Lascannons at the Demolisher and took two hull points off it at once. Unfortunately my las-pred couldn't do the same, nor could the Razorback. So it lived. My Autocannon-pred shot some Guardsmen, but the rest of my army ran forwards. The Librarian also used Enfeeble on the Assault Marines hiding behind the forest.
Turn 1 - Blood Angels & Imperial Guard
The enfeebled Assault Marines stayed put and the Guardsmen backed away a bit.
The Sternguard first suffered three wounds from lasgun fire... and two died. Then they got a Battle Cannon staring them down killing off the rest. First Blood to the Imperials. The Demolisher then shot at the most clumped up stuff on my side, which were my Plague Marines and CC-oriented CSM-squad. It killed 2 Plague Marines and 3 Marines.
The Librarian was then charged by one squad of Assault Marines, they had a Sargent with a Power Fist, so of course the Librarian challenged him. He decided to refuse though, since it was his charge and he wanted to get more attacks in. No wounds penetrated armour on either side however.
Turn 2 - Black Legion & Iron Hands
The other Drop Pod failed to show up. The Iron Hands stayed on the objective on their side for the most part while my army continued to move up (except for the Predators who stayed back). The Razorback got the honour of killing off the lethal Demolisher, thank you for that! One more of those S10 blasts would've hurt indeed. The explosion also killed off a few Guardsmen. My Laspred then got to prove itself as well, as it blew up the far away Leman Russ! My Obliterators then got to try their new shiny Assault Cannons on the IG Command Squad. Needless to say they were slaughtered. Slay the Warlord! The Autopred then shot off the Demo-charge off the unit hiding behind the hill, so none of that shenanigans! The rest of my army was still running forwards as the Imperial Guard kept their distance.
The Librarian then challenged again, and this time the Blood Angels Sargent decided to accept since he was no longer losing Hammer of Wrath and extra attacks... The Librarian forgot to cast Iron Arm, but he killed the Sargent anyway. The squad had the Red Thirst though, so they stayed.
Turn 2 - Blood Angels & Imperial Guard
 |
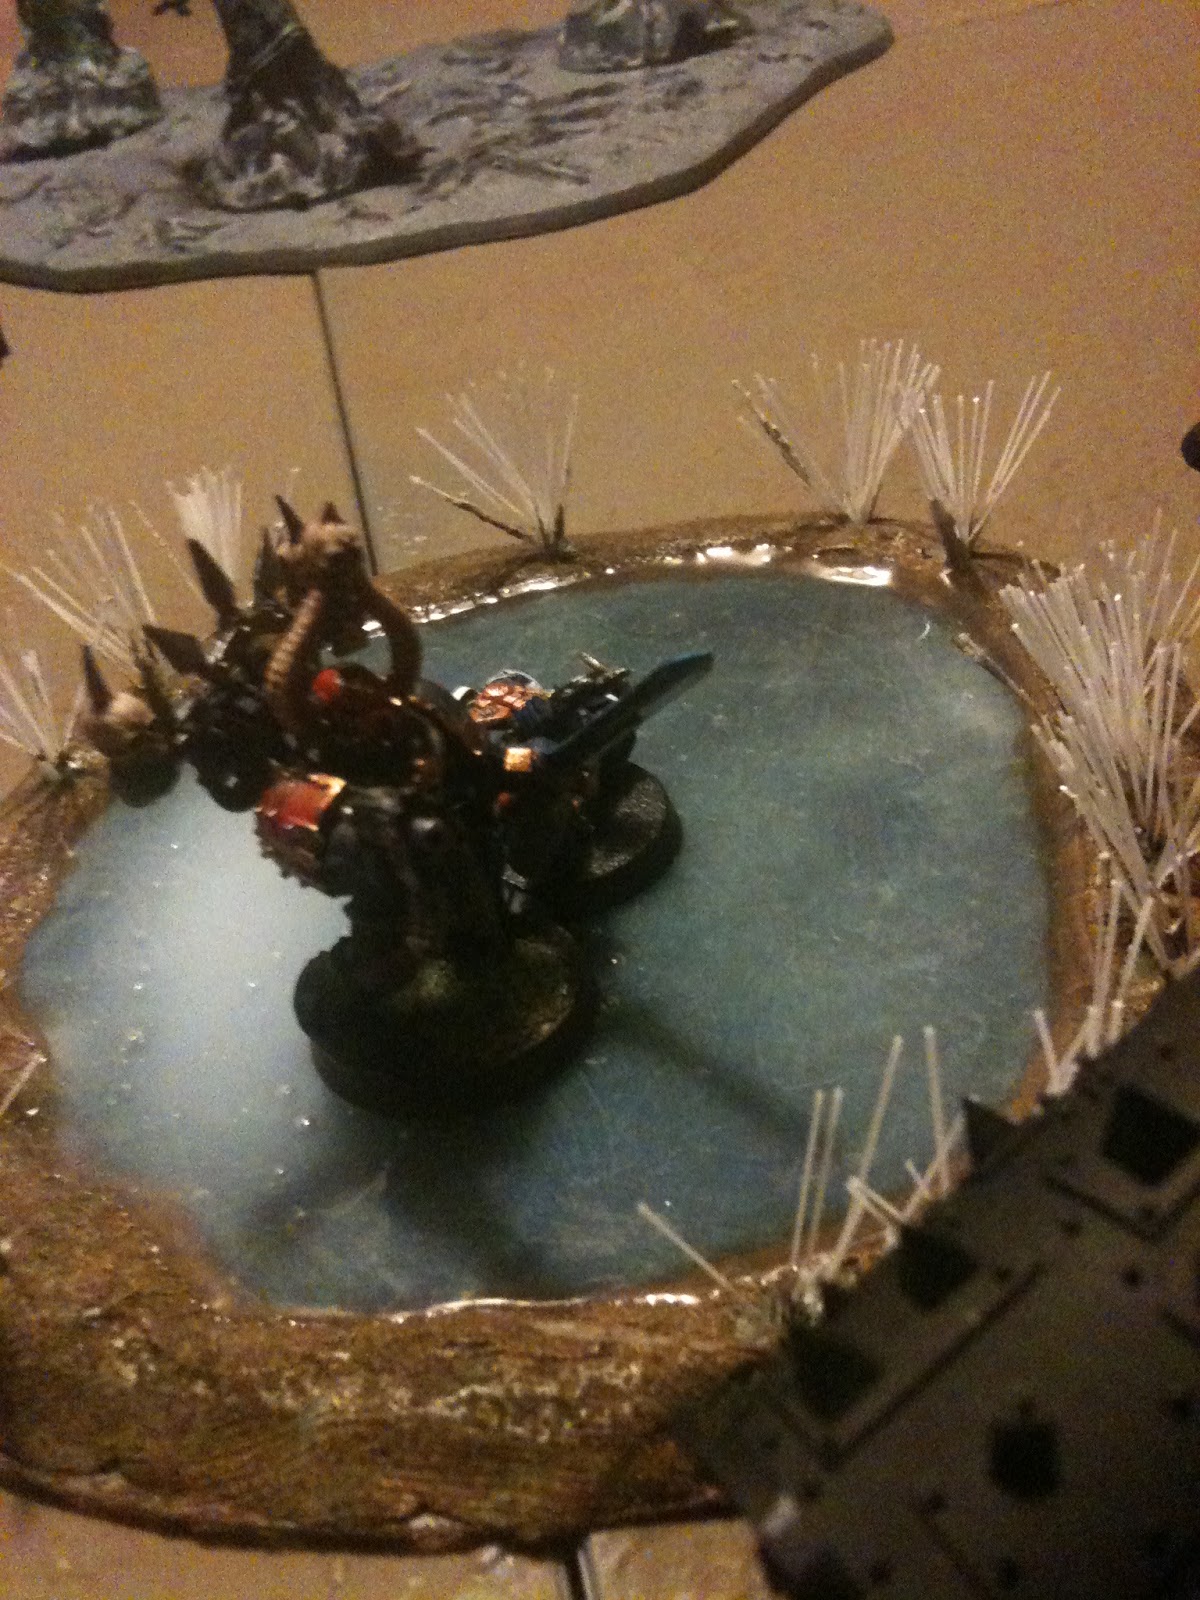
| Pretty craters showing up! |
The earlier enfeebled Assault Marines moved forwards and tried to melta the Drop Pod for lack of other good targets. They hit and penetrated, but then rolled a 1 on the chart, so despite +3 they only got a Weapon Destroyed. Every other melta in the armies missed totally. One Plague Marine and two Chaos Marines went down to flashlight fire however. The Leman Russ which is deployed on the right side (not visible on the picture...) fired it's Battle Cannon on the Auto-pred but failed to penetrate. Continued stalemate between the Librarian and the Assault Marines.
Turn 3 - Black Legion & Iron Hands
The Death Company had chosen to shoot their pistols last turn instead of spreading out... Of course I couldn't resists shooting Plasma Cannons at them! One got hot, but no wound. Another scattered off, but one was a direct hit on all seven of them! Unfortunately I somewhat whiffed the roll and rolled three ones. And out of the remaining 4 wounds he made three Feel No Pain rolls! I continued to shoot all my Plasma weapons at them as well as the Autopred and eventually managed to kill 4 in total, but with the amount of ignore armour shots they should've been dead! I also managed some wounds on the Flamers who failed their morale test. The Iron Hands killed off a couple of Assault Marines on their side of the table. The Librarian then took a wound in the close combat, but he stayed.
Turn 3 - Blood Angels & Imperial Guard
The Shooting killed a few Marines, but not much happening. The Death Company charged the CSM squad without CCWs, my Champion challenged the Chaplain since he has too and actually wounded but it was saved. He was then cut down as well as the rest of the squad. The remaining Power Sword was enough, so the Thunder Hammer didn't even get to strike. Still tie combat between the Librarian and the Assault Marines, and one squad of Assault Marines charged the Tacticals holding the objective for another tie combat.
Turn 4 - Black Legion & Iron Hands
The Drop Pod showed up and dropped down in the Imperial Guard corner, and the Tactical made some guards start running.
The Obliterators were determined to finish what they started, so shot twin-linked plasma guns at the Death Company. The Chaplain was in front, so he decided to use his 4++ but failed to save two of them. The Auto-pred then shot them from behind as well, killing the Power Sword guy.
My lone surviving Champion with a Power Fist charged a small squad of guardsmen, swept them and consolidated back to the objective. My Lord and his one Plague Marine charged as well, My Lord had to challenge his Platoon Commander, and actually killed him with his Hammer of Wrath attack. So my Gift of Mutation granted me another roll on the Boons Table! But I rolled unworthy offering, no surprise there since it was just a guardsman after all... The Plague Marine also killed a couple of guys, but the guards actually stayed in combat! Great for me, no shooting at my Lord next turn! The Librarian got inspired I suppose, as he also killed two guys in his combat.
Turn 4 - Blood Angels & Imperial Guard

The Obliterators had to suffer a lot of Lasgun fire, which they just shrugged off. The Chaplain and the Thunder Hammer also fired their pistols at them... and that of course caused a wound... The Special Weapons Team with Meltas moved up and blew up the Auto-pred. The Leman Russ in the corner didn't like the look of those Tactical Marines that showed up in front of it, so shot his Battle Cannon, it scattered off a bit and hit the Drop Pod and only two marines instead. Rolled double one for to wound and failed to penetrate the Pod as well! The most far away squad of Imperial Guardsmen also managed to snipe the lone Champion on the objective.
In the assault phase the Death Company and Chaplain charged the Obliterators, the Chaplain killed the Obliterator he wounded with his pistol. My remaining two Oblits then hit back and wounded with all four attacks, he decided to use his Chaplains 4++ on all of them since he wouldn't get Feel No Pain on the Thunder Hammer. He saved three of them. Here we made a mistake though, he should've rolled them one at a time since it might've been the first attack that killed him and then the Thunder Hammer would be dead too... ah well! Instead the Thunder Hammer killed one Obliterator, and as they're no longer Fearless the remaining Obliterator broke and was swept as well.
The squad of Assault Marines that had been sitting in forest for all game long decided to come out and play, as they charged a unit that had come out of the Drop Pod. They promptly failed and fled off the board instead. The Assault Marines on the far away objective had a tie combat yet again. My Lord and Plague Marine killed off the last remaining Guardsmen they were in combat with and the Librarian also finally killed the last Assault Marine.
Turn 5 - Black Legion & Iron Hands
I split off my Lord and Plague Marine so I could both Rapid Fire Plasma the last Death Company and charge him if that failed. The Plasma double killed him though. The Librarian cast Enfeeble on the Guardsmen on the middle objective and then charged them. Killed enough to break them, and then consolidated 6" and thus grabbing the objective since he's a scoring unit! What a champ!
I then got greedy with my Lord however, as there was a juicy squad of Guardsmen coming close to the objective on my side. I decided to shoot them and try to charge despite a 10" range instead of running closer to contest the objective. I failed to hit and charge.
Turn 5 - Blood Angels & Imperial Guard

Most of the remaining Imperial Guard are fleeing at this point, except for the unit that I failed to charge last turn who moved up and claimed the objective - and right behind them a Special Weapons team with meltas. The Lone Assault Marine with a Melta gun moves up behind my Laspred (which hasn't done much the last couple of turns) and shoots it, hits, penetrates... and then rolls a 1 on the chart. Again! So no real harm done. The Leman Russ shoots it's Battle Cannon at the Librarian hoping to both kill the Warlord and deny us 3 VP's - that would've been a winning move. But Terminator armour saves both the direct hit and the Lascannon.
In the Assault phase the Assault Marines on the far away objective manages to score two kills, but the Iron Hands stays put.
Does the game end? It does. So each side claims one objecvie and both has Linebreaker. The Imperials got First Blood, and the Obliterators killed both Warlords. So a close 6-5 victory for the Black guys!
Lessons Learnt
First off, don't mess up the rules. If one Obliterator had survived that would've been a big deal for the last turn indeed. But despite that, they were my mans of the match as usual. I wasn't affected by having to change weapons every turn in the slightest - I didn't even shoot the same weapon twice the entire game! However, the loss of Fearless did show as they were eventually swept in assault. But they still killed two Warlords and caused a lot of mayhem so I can't complain!
My list was a bit geared towards facing Space Marines, but since we deployed first I ended up facing the Imperial Guard. I really didn't have enough guns to really put the hurt to them, and in the mid-game I wasn't decisive enough either. I wanted to stay on the objectives as well as charging - I would probably have been better off charging despite losing about half of my forces when I got to the midfield.
Also, don't be greedy. In the last turn I was playing for another turn really. Had it been a turn 6 I'm convinced that my Lord would've routed those Guardsmen, but instead of capitalizing that I tried to go for it a turn too early. I'd been better off running to the objective and contesting it instead. I'd probably been shot by three meltas though, but they wouldn't Instant Death me and I had a 4++ so... Ah well!
Other than that I'm quite pleased with how my guys performed overall. Too bad I didn't get into more assault though! Oh, and +1Ld for Veterans of the Long War saved me from running 3 times. Definitely worth it's points even when against non-Space Marines. At least if you're going to play small units like I did in this game. Oh, and I totally forgot about my Warlord trait all game. I did get the least fun one so...